How to Properly Farm Google Ads Accounts: A Step-by-Step Guide
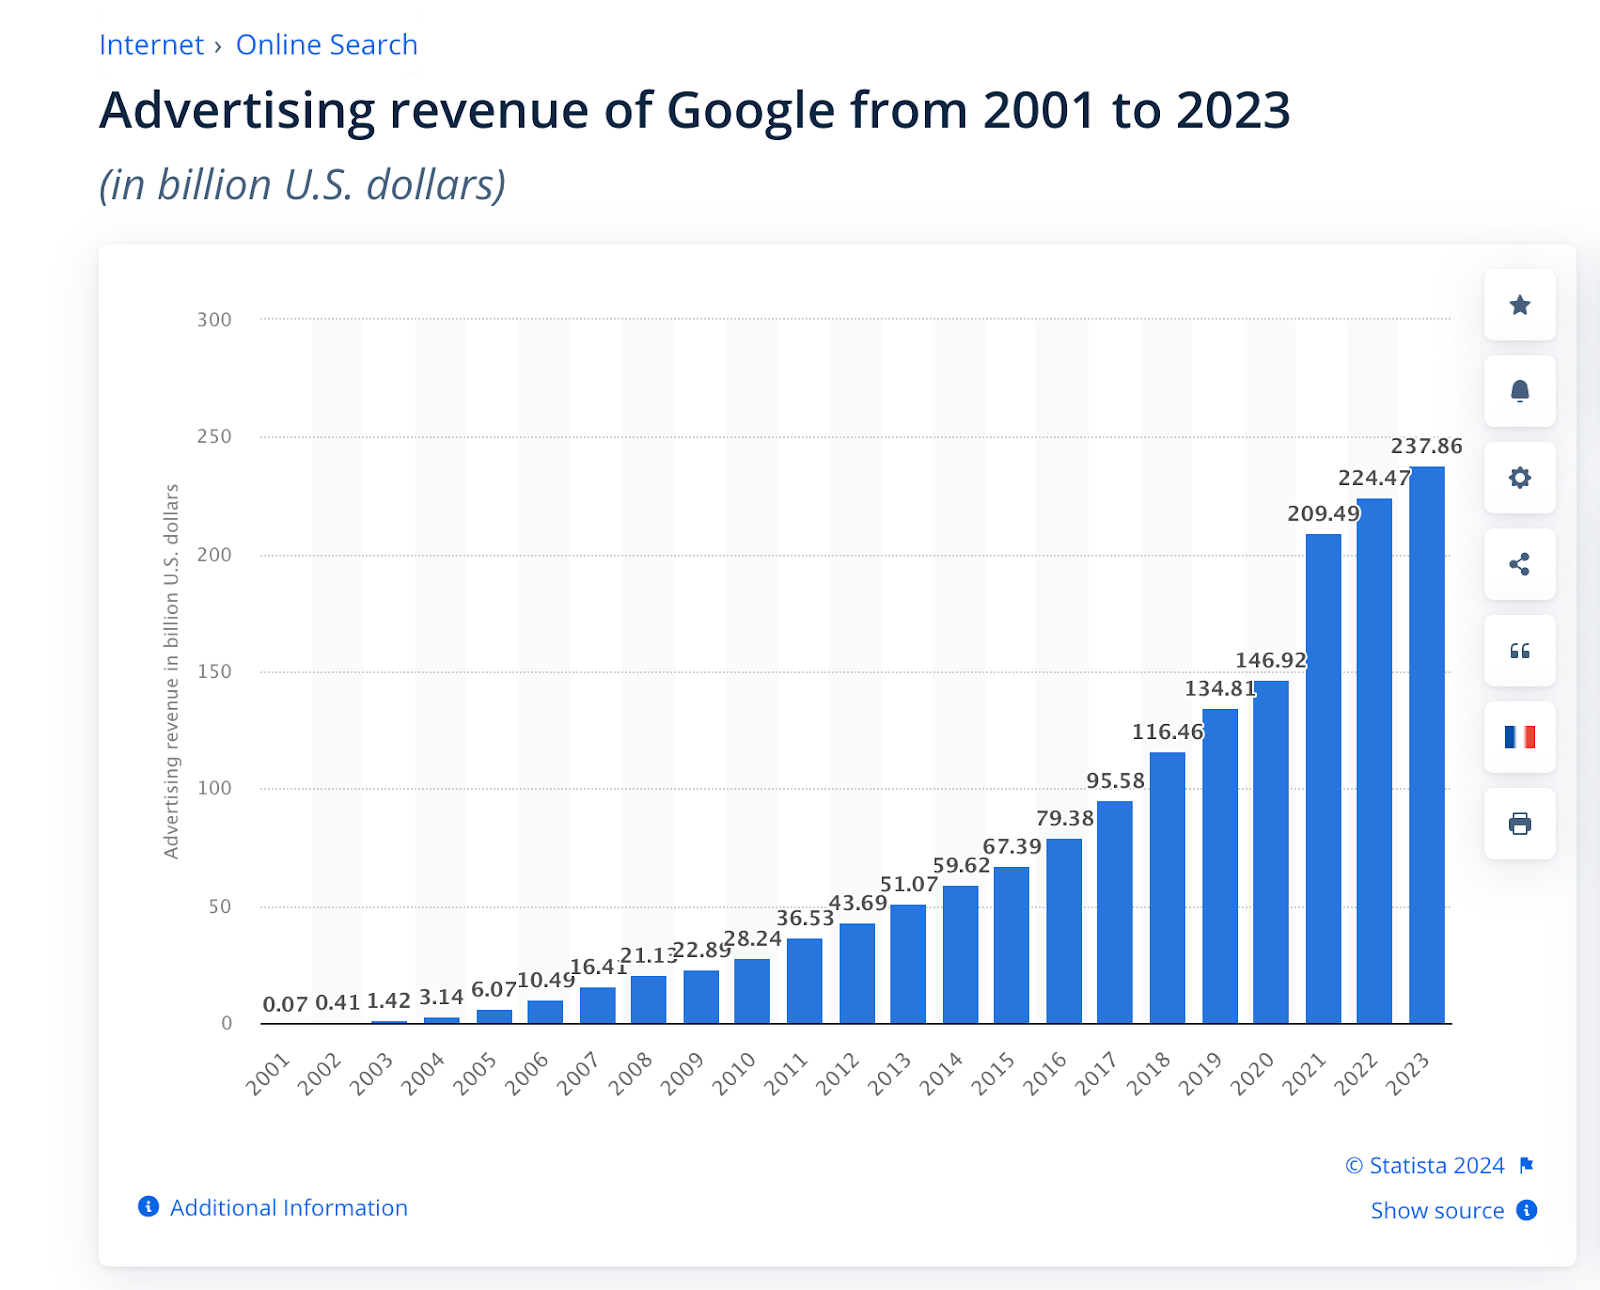
In 2023, advertising through Google Ads generated over $237 billion in revenue for its owners. This is no surprise, given that it’s the advertising network of the world’s largest search engine, used by almost everyone. Arbitrageurs also actively work with Google Ads, which is logical, as this platform has an audience for any offer.
However, consistently running traffic through Alphabit products is only possible with trusted accounts. In this article, we’ll go over how to properly farm Google Ads accounts to get quality traffic while minimizing the risk of account bans. We’ll also provide a life hack at the end on how to minimize the labor costs involved in this process.
How to Farm Google Ads Accounts: A Daily Guide
Warming up is an art that requires attention and an understanding of the processes the anti-fraud systems of the platform monitor. Let’s go step by step on how to farm Google Ads accounts properly. The first and second days require strict adherence to instructions, but after that, you can customize the method. Just make sure you don’t miss anything important.
Day 1: Preparing Tools
The first step is to choose the right tools: anti-detect browser and proxies. Without them, farming becomes meaningless. Here’s what you need to pay attention to:
Anti-detect Browser: When selecting any of the popular solutions on the market, make sure of a few things in the context of this task:
- Core: Always use the latest version of the browser. Keep track of official releases from Chrome and compare them with what your anti-detect browser offers. Updating to the current core helps "mask" your profile among regular users, as most people automatically get updates.
- Screen Resolution: Use one that matches your device. For example, 1920x1080 is a popular choice that ensures content displays properly. It's important not to change the browser window scale if the profile loads incorrectly, as this will raise suspicions with the platform. Other fingerprint parameters should also match your device’s characteristics as closely as possible.
- WebGPU: Adjust WebGL values, hardware concurrency, and memory size to match your device. Unnatural parameters can slow down the interface and alert the platform’s anti-fraud system.
Proxies: It’s recommended to use residential proxies with SOCKS5 protocol. They are sufficient during the initial phase, but their quality can vary. Later on, you’ll need to switch to mobile proxies. When changing IP addresses, ensure that it happens within the same operator or city—this will further improve your trust level.
To check the quality of proxies, you can use tools like Fogldn Proxy Tester.
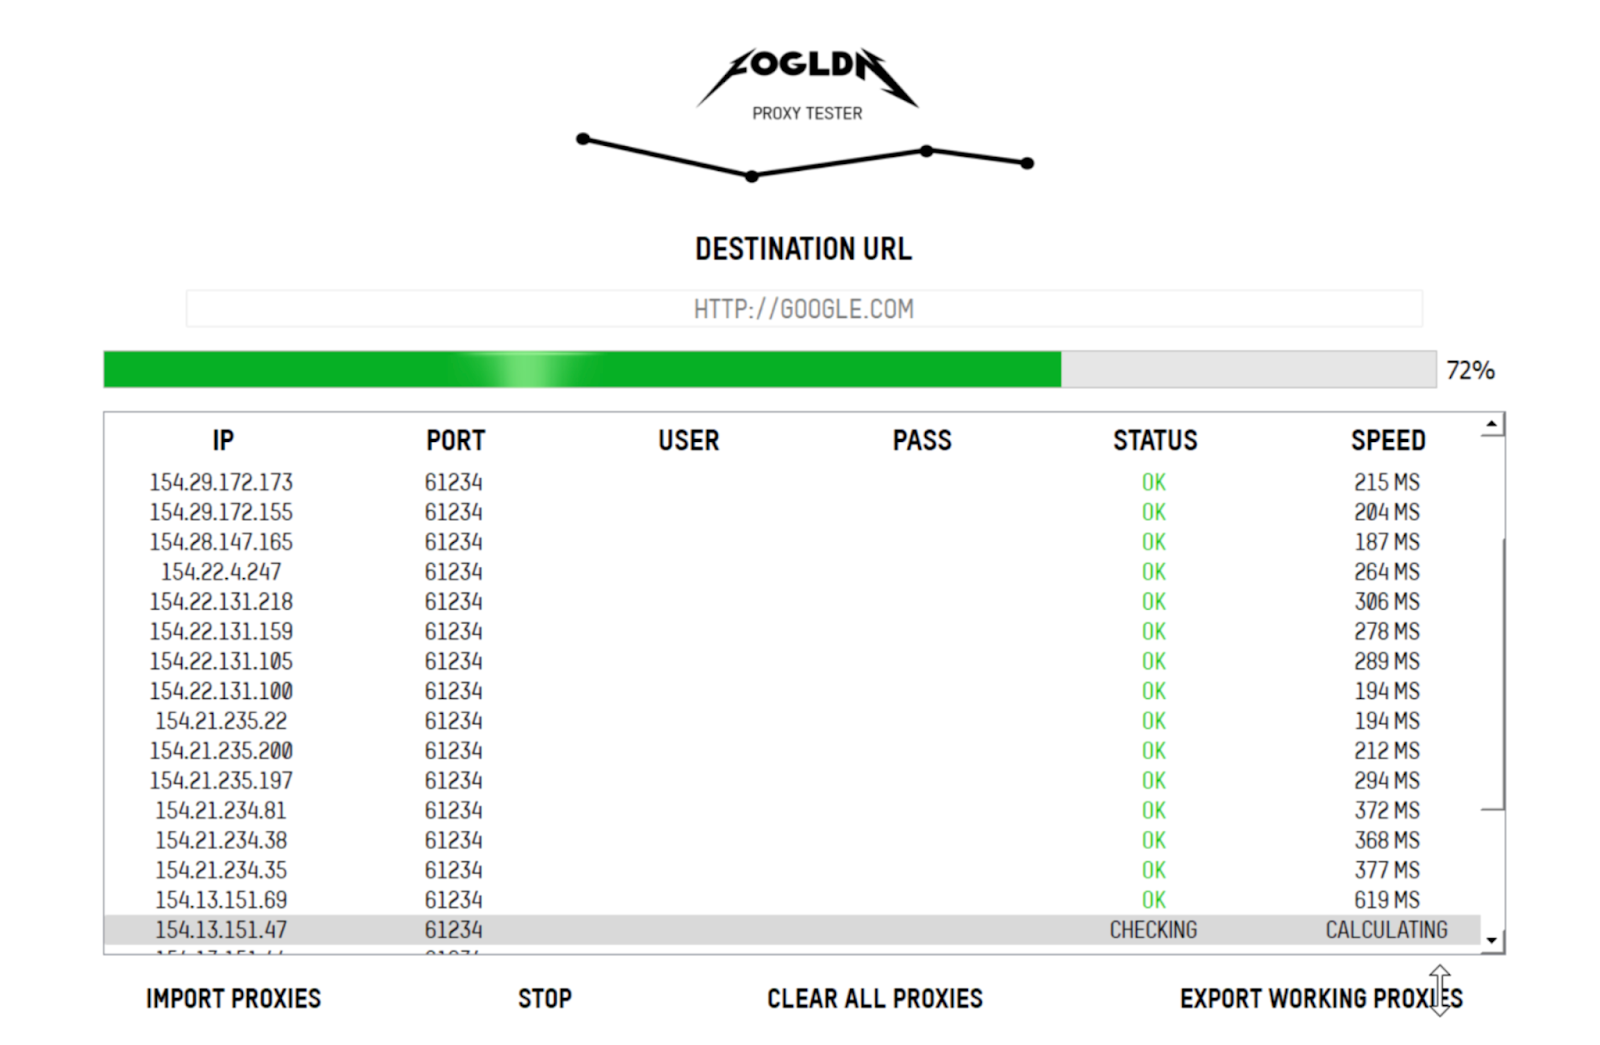
Practical Tip: Experience shows that by Day 2 or 3, your account might get blocked. If that happens, file an appeal and wait a few days. If it’s not unblocked, it's likely that the proxies weren’t of the best quality.
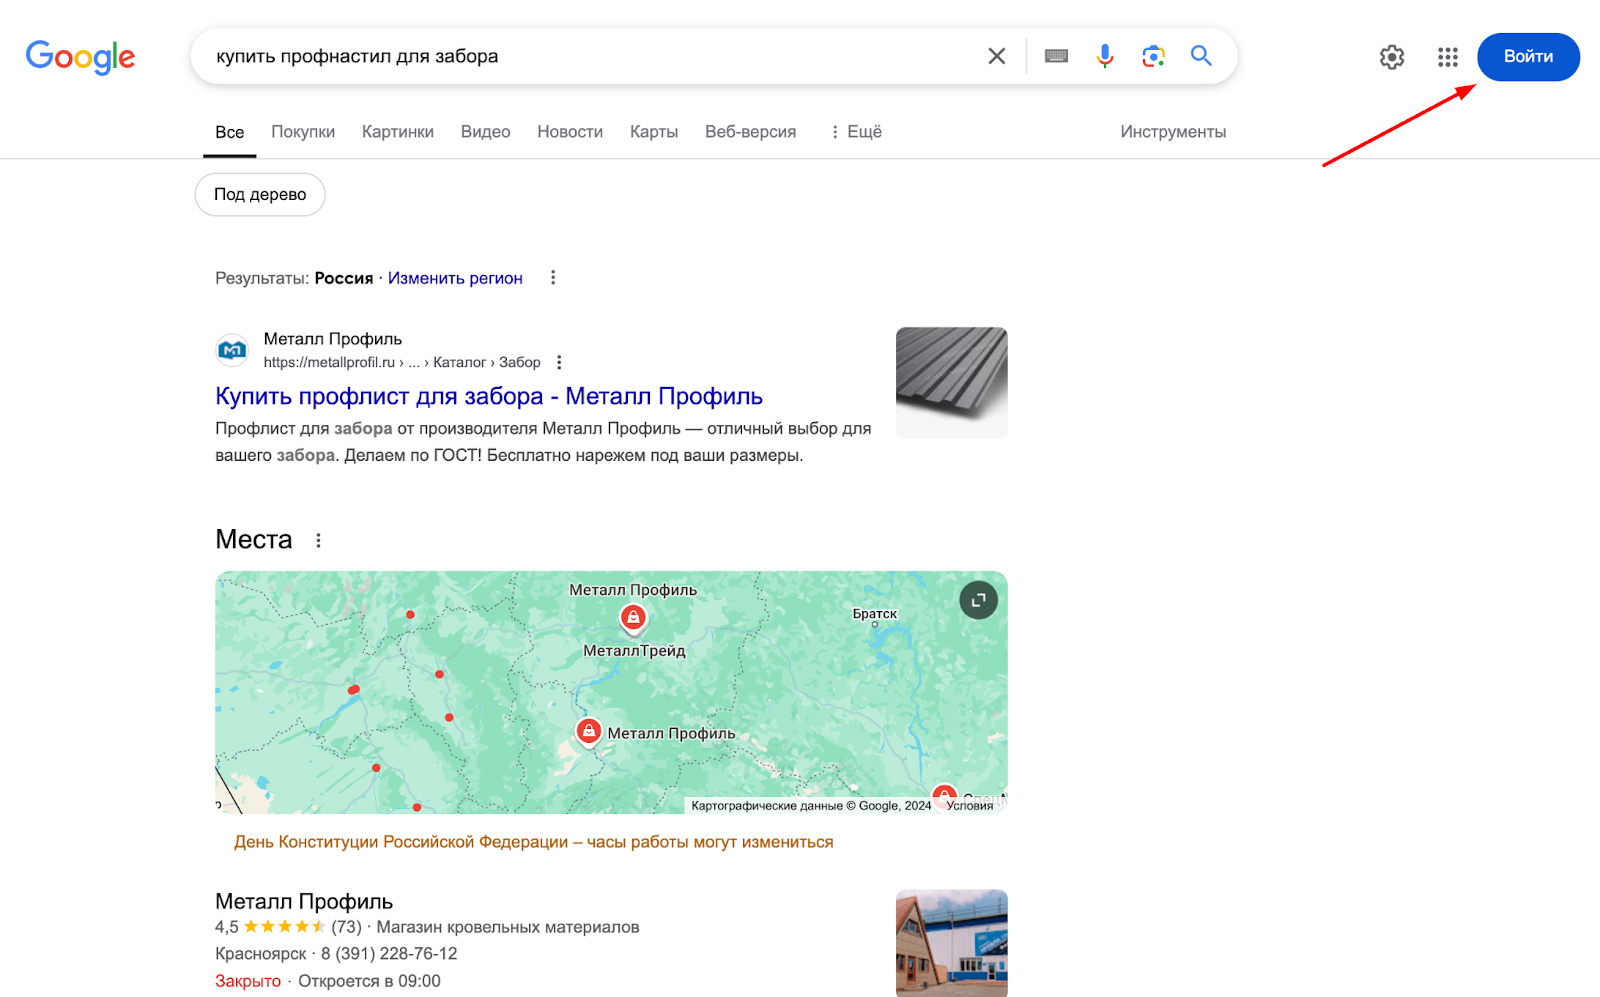
Now, let’s move on to creating the account. Open your anti-detect browser, click on the Google homepage, and simulate activity. For example, enter queries in the language of the target GEO. Browse search results for a few minutes, visit a random website, examine its content, then return to the search and click "Sign In".
Create accounts in equal proportions: 50% personal and 50% business profiles. Statistics show that their effectiveness can vary. For example, in June 2024, personal accounts began to perform better than business profiles. Use both formats in advance so that you're prepared for changes.
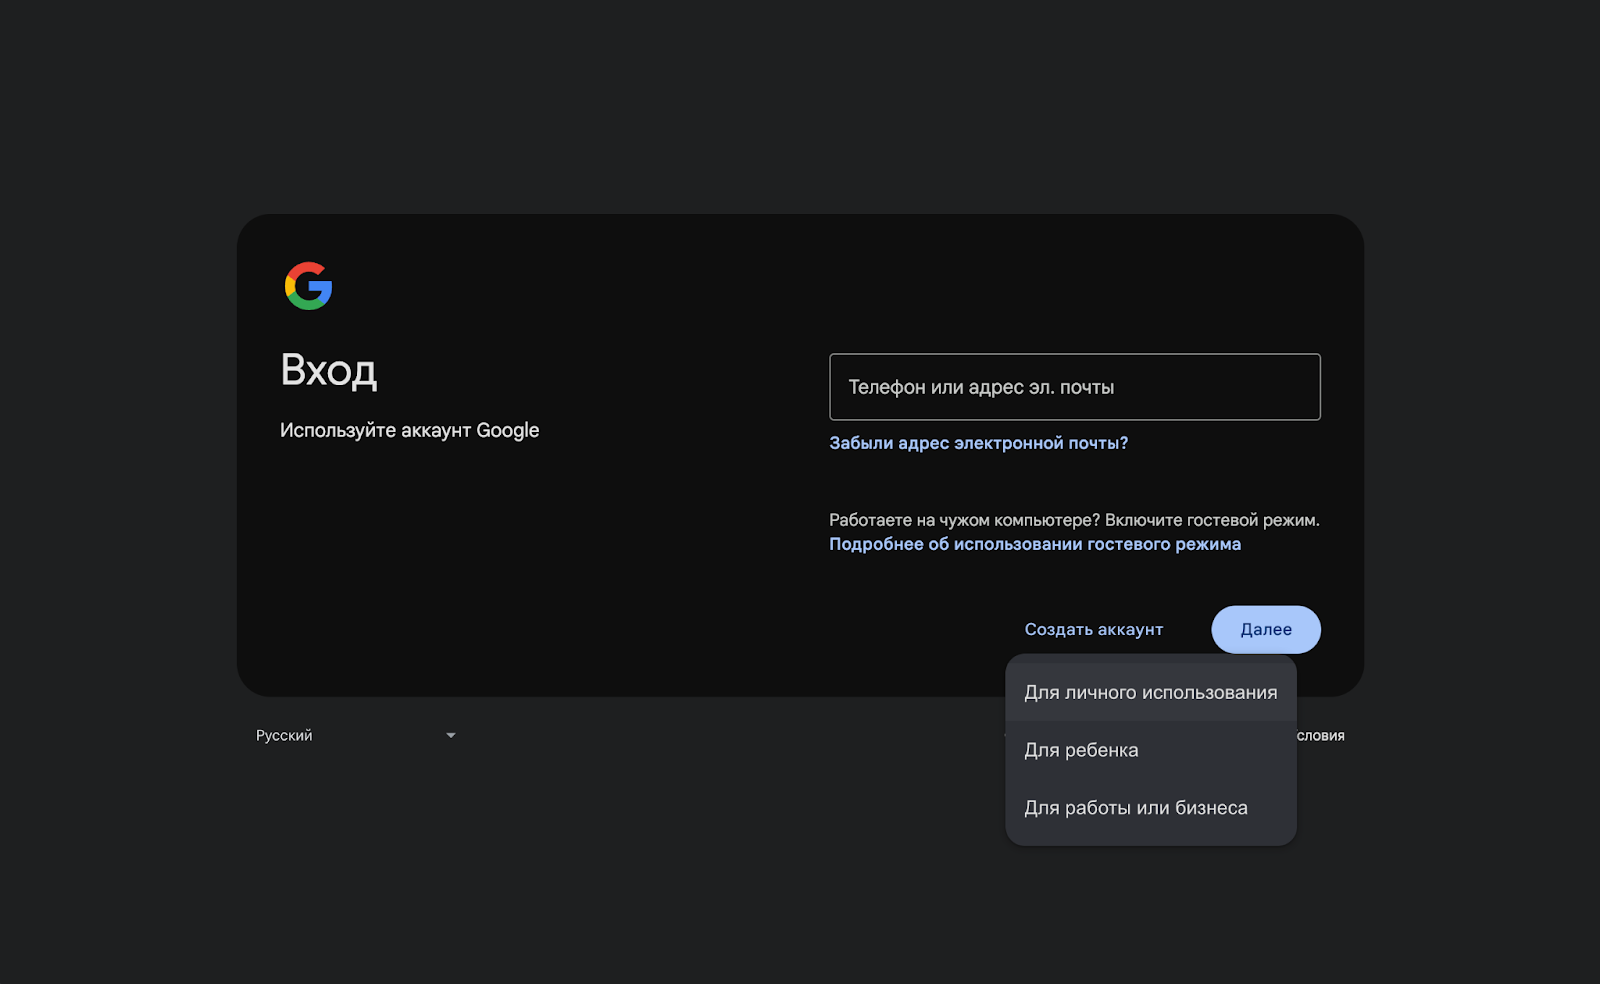
When creating an account, pay attention to every detail, including the full name and date of birth, to make them look natural. This is one of the basics of understanding how to properly farm Google Ads accounts. Avoid using random symbols. For phone verification, EU numbers are the best choice. If they don’t work, consider using alternatives like Latvia or Lithuania.
☝️ Similarly, there could be issues with phone number rental services. It’s better to have a few alternatives on hand. If Google doesn’t accept any number, delete the account and start again.
For two-factor authentication (2FA), create a backup email. You can quickly create one through Outlook or purchase a ready-made list of email addresses for a small fee.
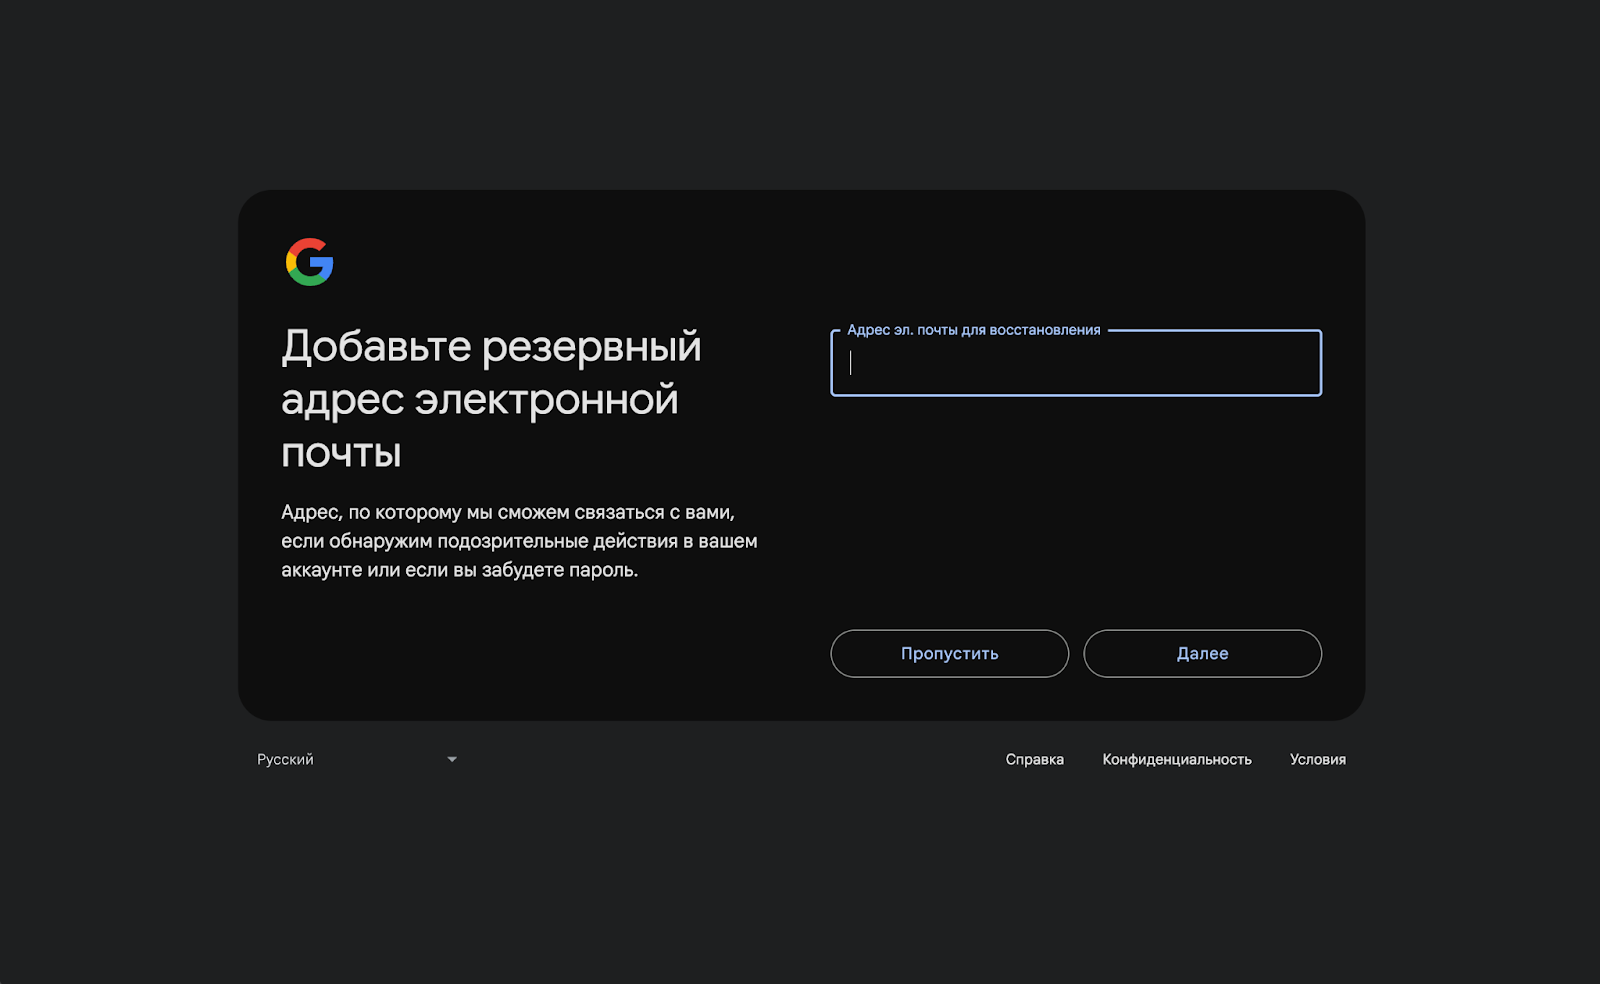
Set up 2FA for the backup email, specifying the chosen phone number as the primary.
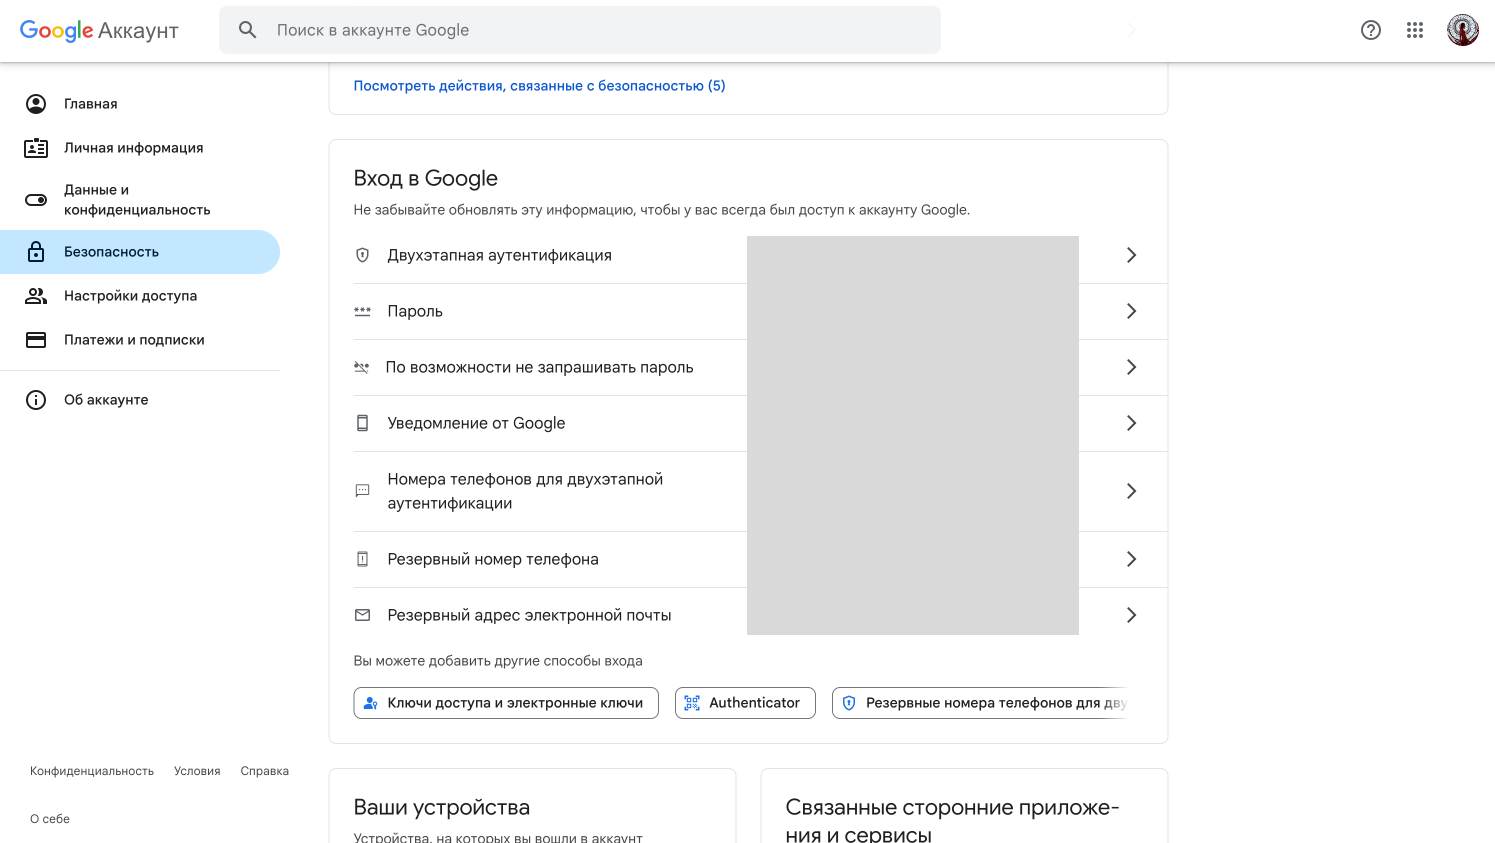
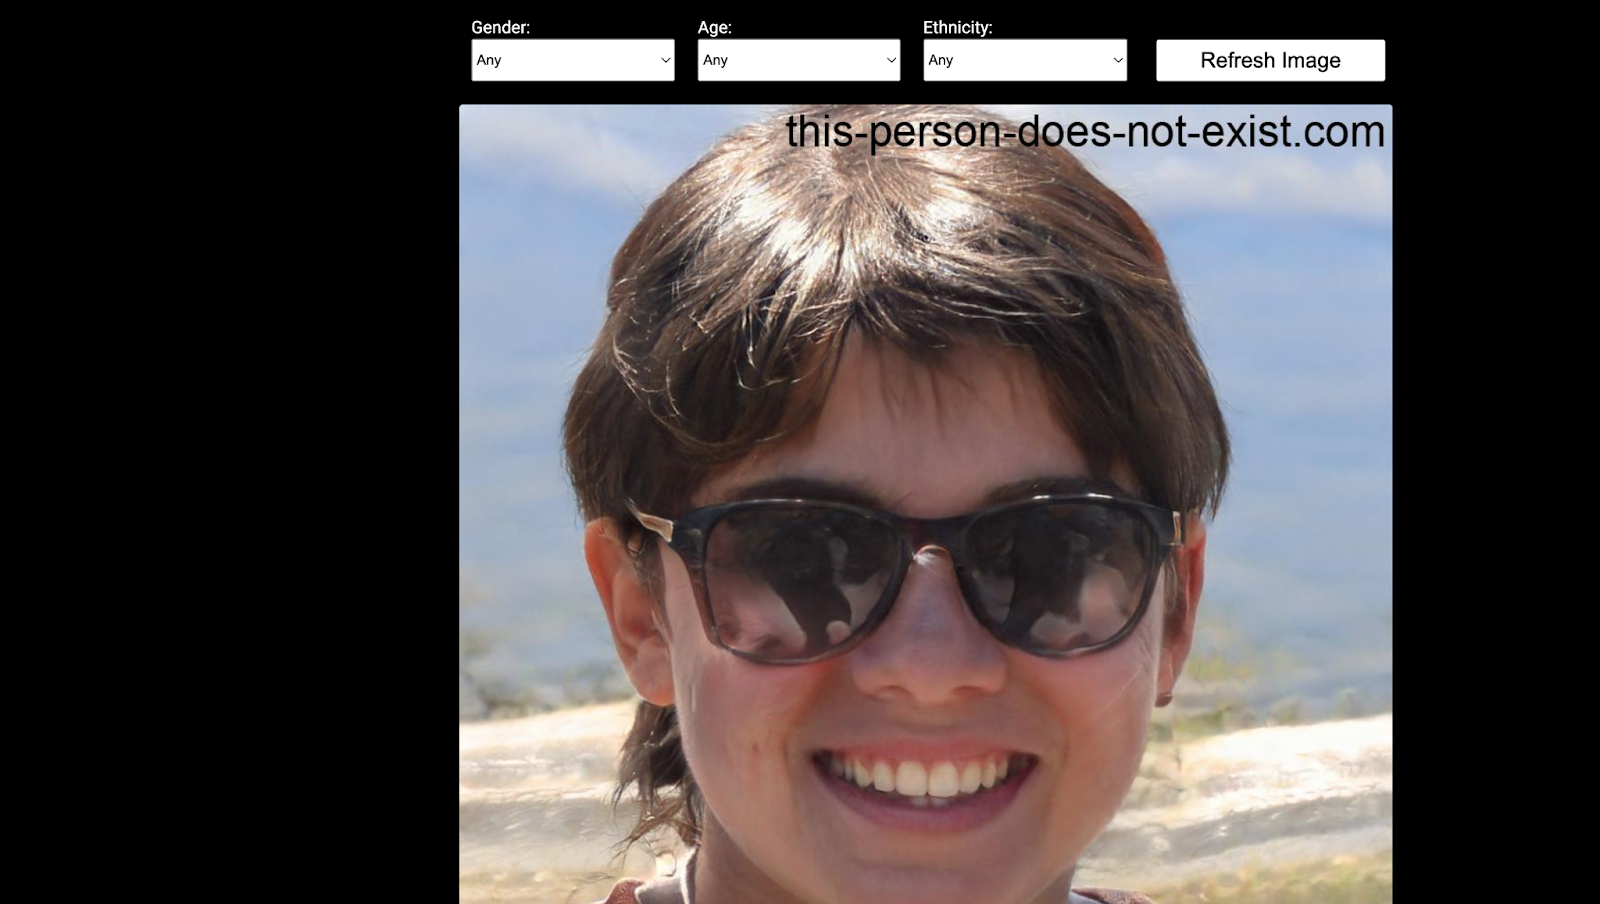
For the profile photo, use images corresponding to the chosen GEO. You can find photos on social media or generate them through specialized services. To make them unique, consider mirroring the image.
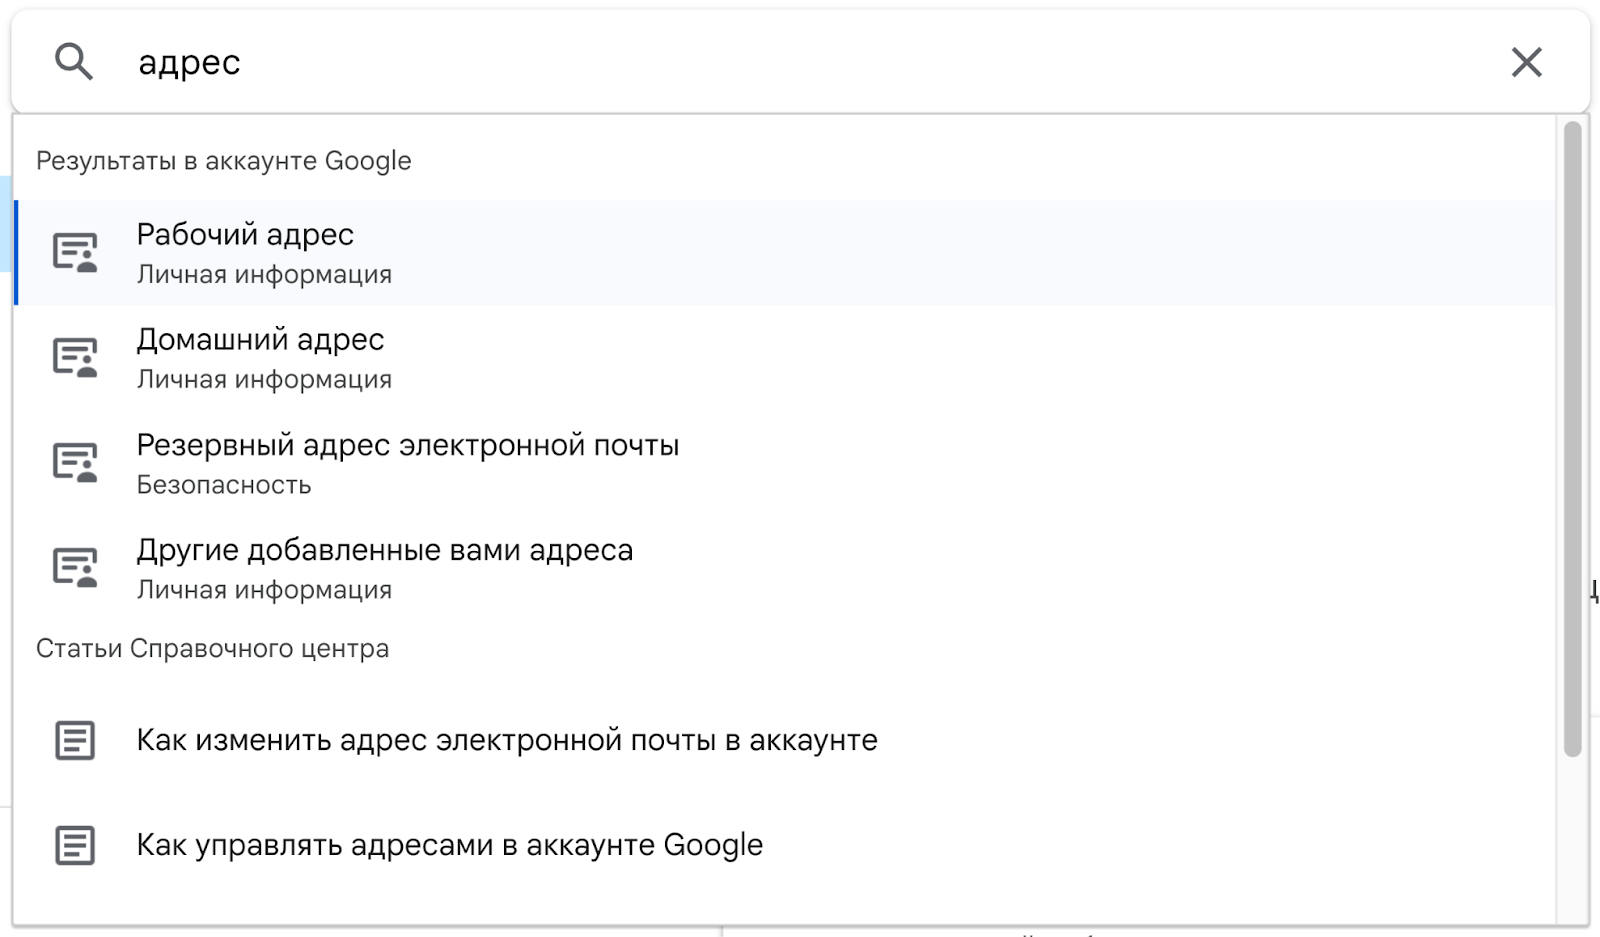
Enter both home and work addresses from the same city. Use online services to generate these, and then check Google Maps for nearby cafes or businesses to add realism.
After filling out the profile, enter a few queries into the search bar and visit random links. Spend time on 2-3 pages, clicking on internal links to simulate activity. This is where you can stop and let the account "rest" for a while.
Day 2: Creating Activity and Subscriptions
Creating activity is a crucial stage for those learning how to properly farm Google Ads accounts. Regular actions make the profile look as much like a real user as possible. It’s best to log in at the same time each day, which simulates a routine. For example, a person might check email in the morning, browse news during the day, and then return in the evening to explore new interests.
- Define Interests: For convenience, keep track of them in an Excel sheet to avoid confusion. For example, if your profile is related to a specific GEO or niche, mark all relevant topics. Then, generate queries for each topic. You can use GPT to generate a list of relevant keywords for each topic.

- Simulating Activity: Use the queries daily to search for things. Visit the websites from the search results, linger on several pages to collect cookies, and create the impression that you are carefully studying the content.
Additionally, to increase account trust, subscribe to newsletters and offers related to your interests. Regular emails in your inbox will create the illusion that the profile is actively interacting with various resources.
Day 3 and Beyond: Warming Up the Account
At this stage, you’re building the "life" of the account. The main task is to create the most natural behavior model. To do this, it’s important to alternate actions in different sequences and repeat some actions periodically.
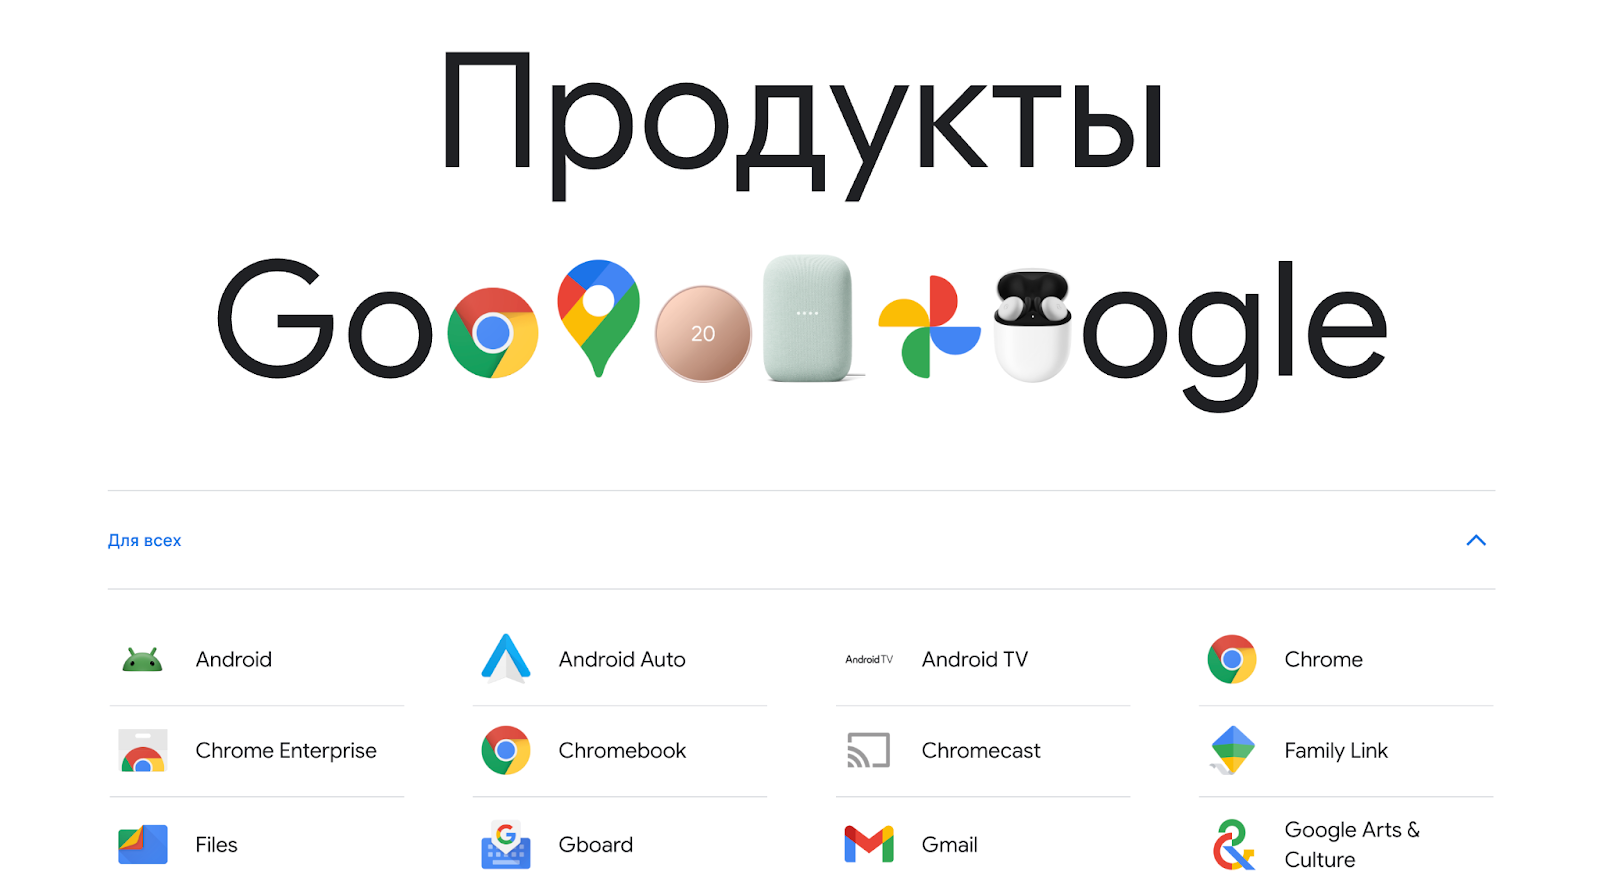
Using Google Services: Engage with the Google ecosystem: create Google Docs, Google Sheets, and store files in Google Cloud. To enhance trust, upload images and text related to your niche. This will help create the illusion that the profile is being used for work or study. Regularly log into Gmail, read emails, and click links in newsletters. This makes it seem like the email account is actively in use.
Content Viewing and Activity on YouTube. Regularly visit YouTube, watch popular videos from trending categories, and then create a profile with a thematic name (for example, name + account’s area of interest, like "Alex Finance"). Open videos, watch about a third of them, and then increase the playback speed. You can like or comment on one of every 5–9 videos.
To add realism, every 2–3 days, re-watch the same video and leave thoughtful comments, or simply leave the tab open for 20 minutes.
Working with Search Queries and Visiting Websites. Prepare a list of search queries via GPT. Actively search, click on links, and read content carefully, occasionally scrolling through pages. Don’t forget to search for trending topics by typing the first few letters of popular words. Identify the most visited sites for your GEO. Register on some of them, engage in comments, or leave reviews. This will add activity to your profile and boost its trustworthiness.
Emulating Mobile Activity. Log into your account via smartphone at least once during the warming-up period. You can use either a real phone or emulators like Nox or BlueStacks. Make sure to set up the proxy and IP to match the city listed in your anti-detect browser.
After 5–6 days, start searching for information about Google Ads. For example: “How to link a card in GA” or “How to set up conversion optimization.”
The ideal warming-up period is between 10 to 14 days. For convenience, record all actions and warming-up timelines in a separate table. This will help track effectiveness, as sometimes accounts with a certain age have a better chance of "surviving."
How to Log into Google Ads Manager and Link a Card
To correctly set up your profile and minimize the risk of being banned, it’s important to follow a proven algorithm. Let’s go step by step through the process of logging into Google Ads Manager, creating a payment profile, and linking a card.
Step 1: Registration
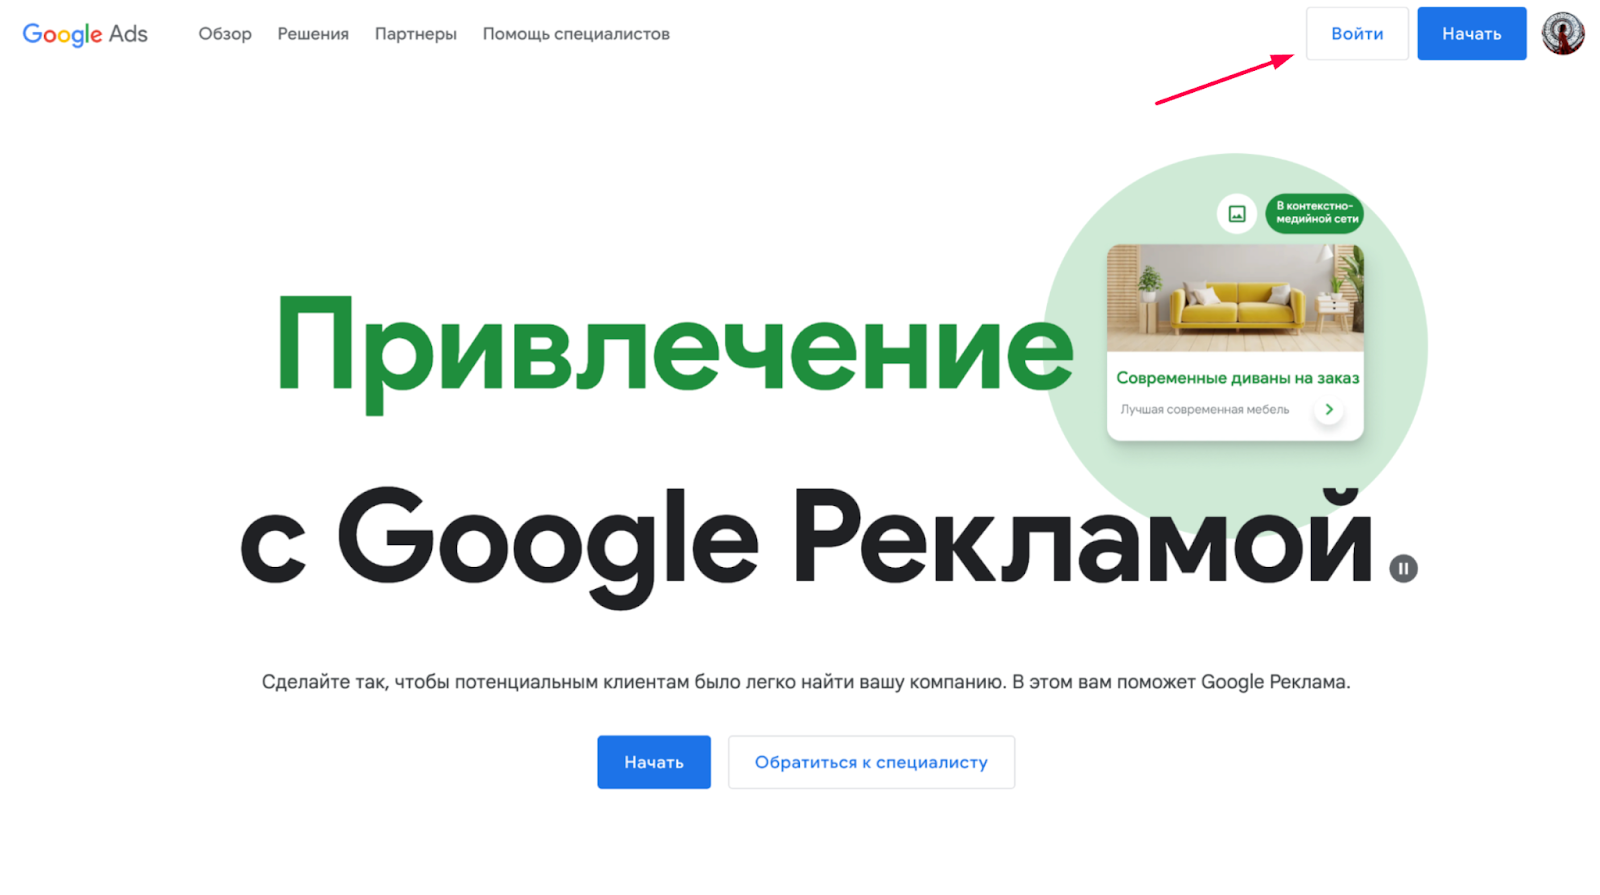
Go to the Google Ads homepage and click "Sign In." Select the option "Create a new Google Ads account." Skip the ad campaign setup stage (if it doesn’t let you skip, just fill in random details).
And continue until the payment stage.
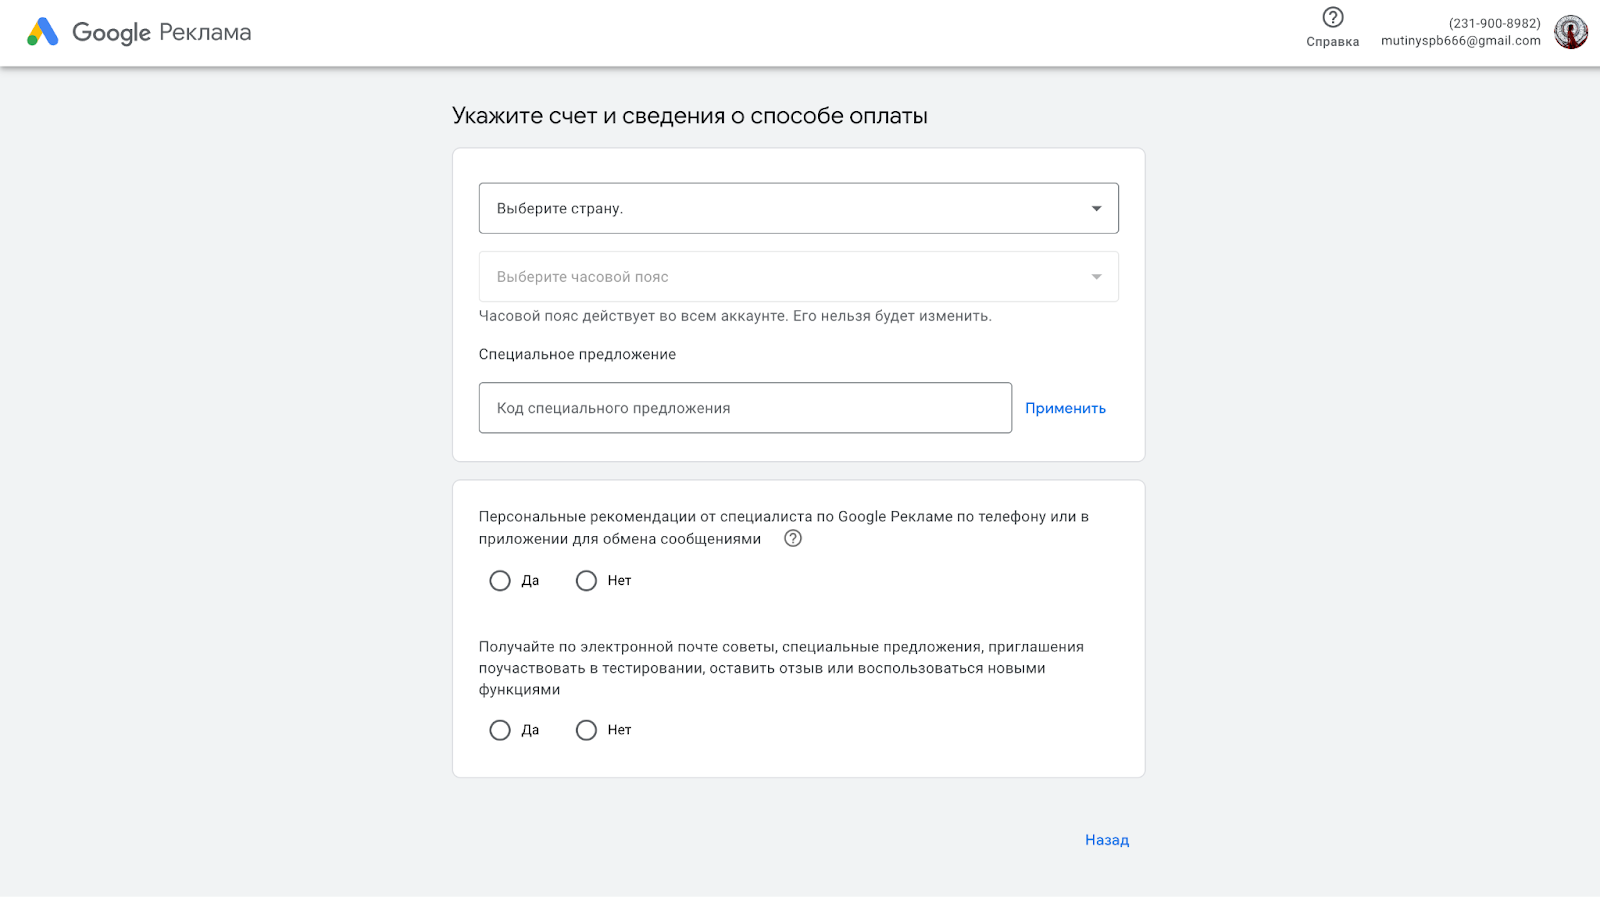
Step 2: Adding a Payment Profile. At this stage, linking your card requires extra caution, as mistakes can lead to account bans. Here are the three main methods for adding a card:
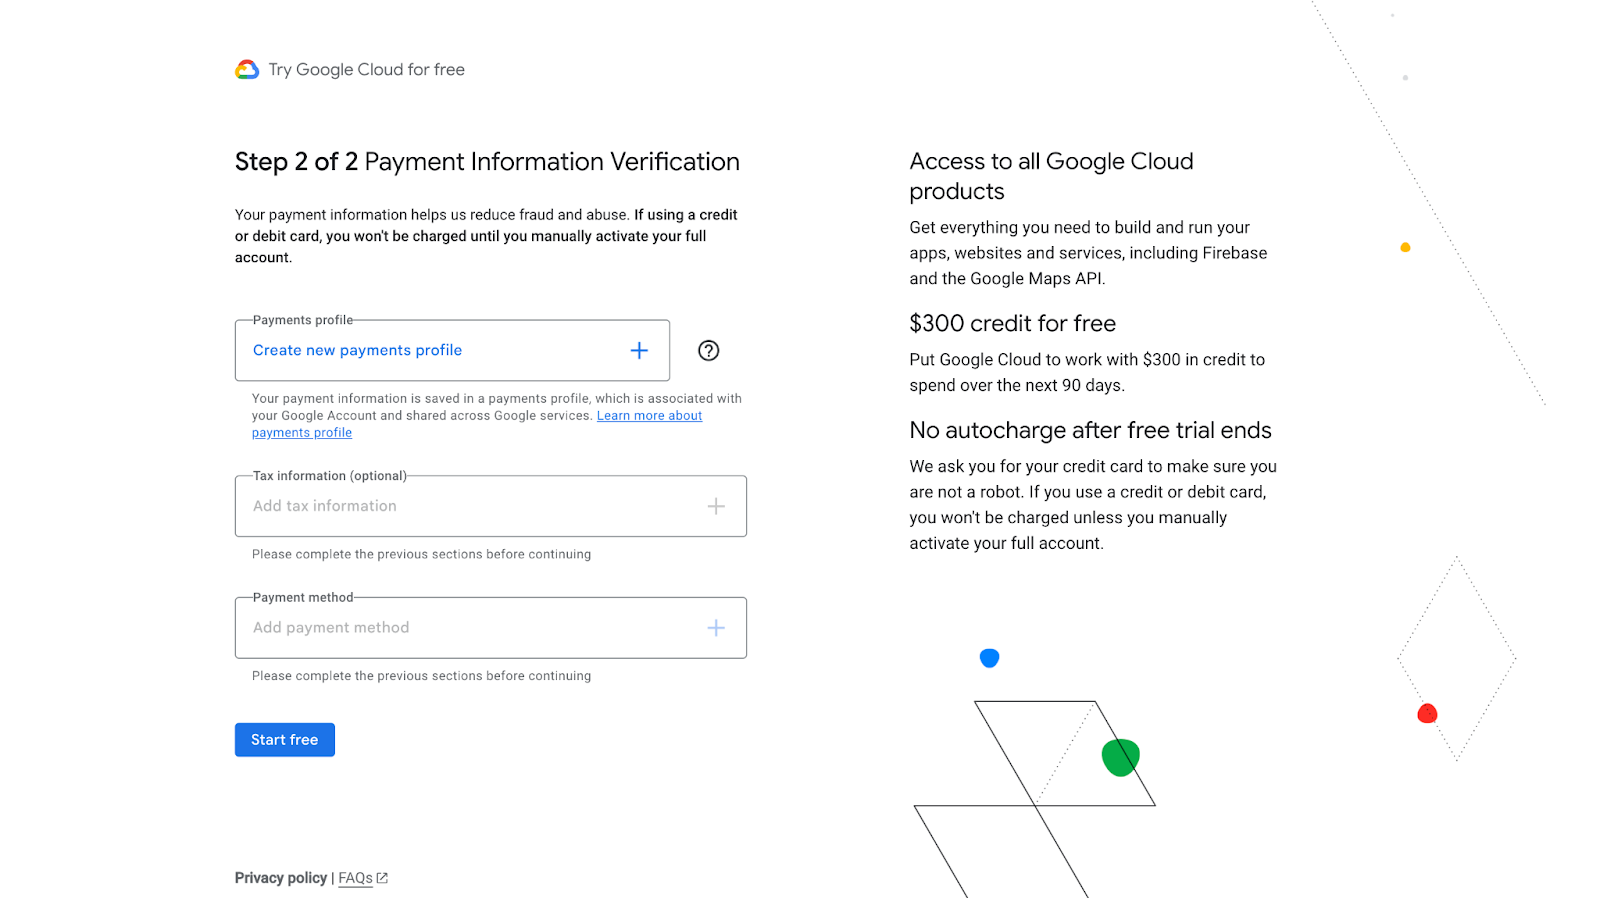
- Method 1: Through Google Cloud. Use a card where the BIN code’s issuing country matches the account’s GEO. Go to the Google Cloud website, click "Get started for free." Specify your working GEO if it’s not automatically detected. Fill in the details, including your address in the specified region, and finish by selecting "Start free." After this, the card will automatically be added to your Google Ads account.
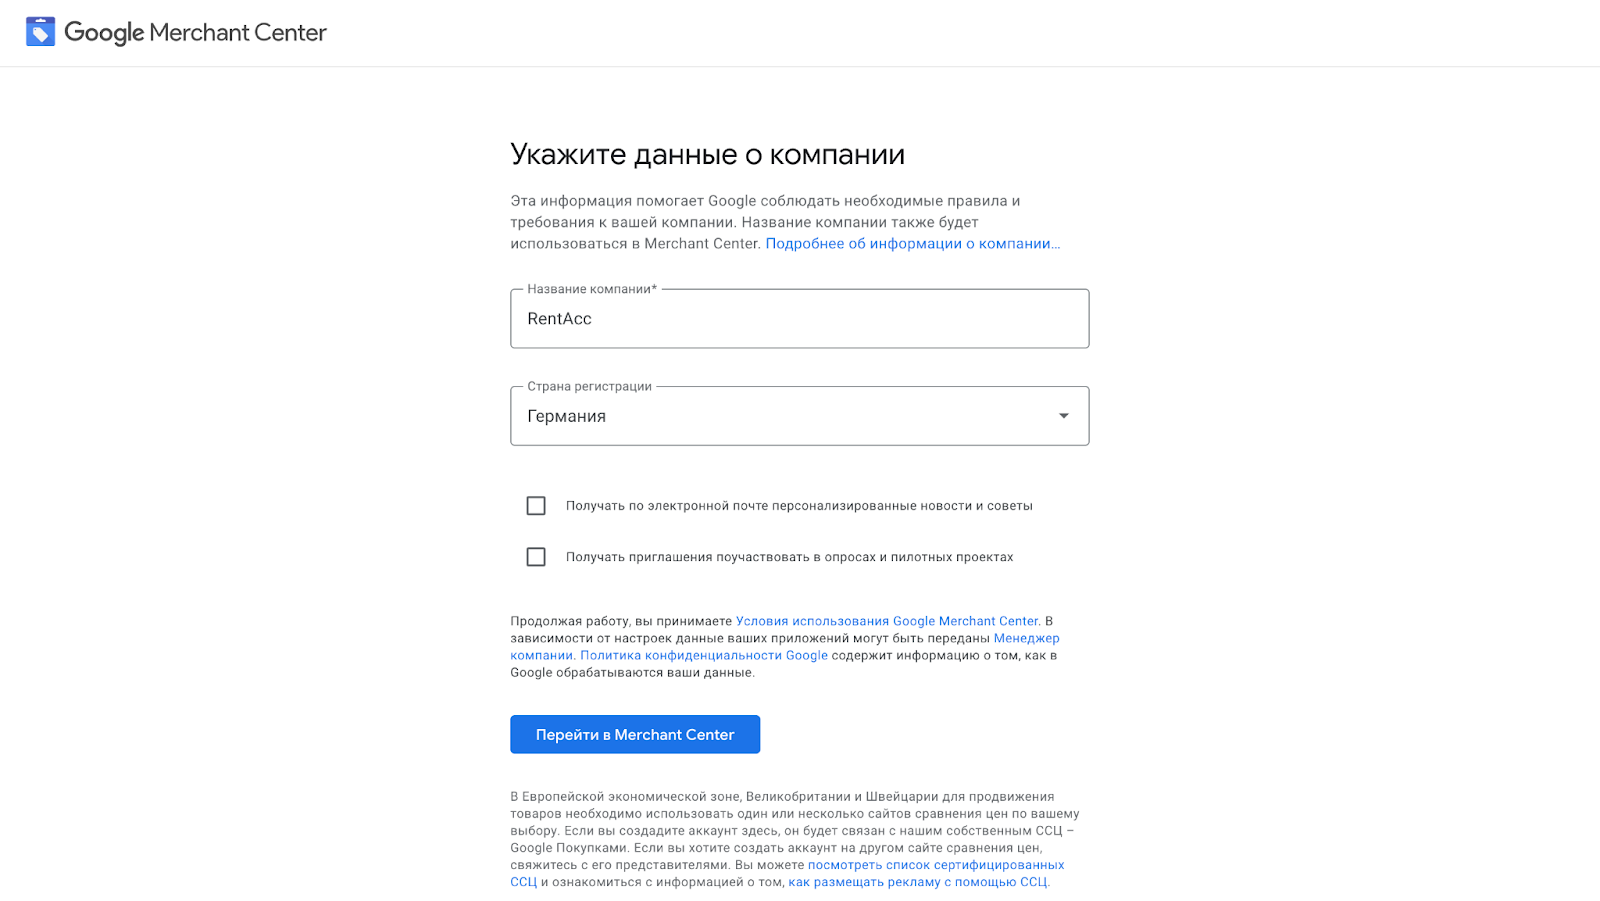
- Method 2: Through Google Merchant Center. Search for Google Merchant Center in your GEO’s language and select "Sign up for Google Merchant Center." Click "Go to Merchant Center," log in, and agree to the terms in the first question of the form, skipping the second point. Specify a site in a white-hat niche. Complete the registration by clicking "Continue to Merchant Center." In the "Campaign Management" section, add your card. After this, it will be available in Google Ads.
Alternatively, you can skip these steps through quick links. Simply click here, create a payment profile, and finish the process. After linking the card, click "Submit" and leave the account for 24 hours for the system to register the changes.
How to Set Up a Test Campaign to Warm Up Your Google Ads Account
Creating a warming-up campaign is an important step. Let’s go over how to properly select content, set up the ad, and launch it with minimal risk.
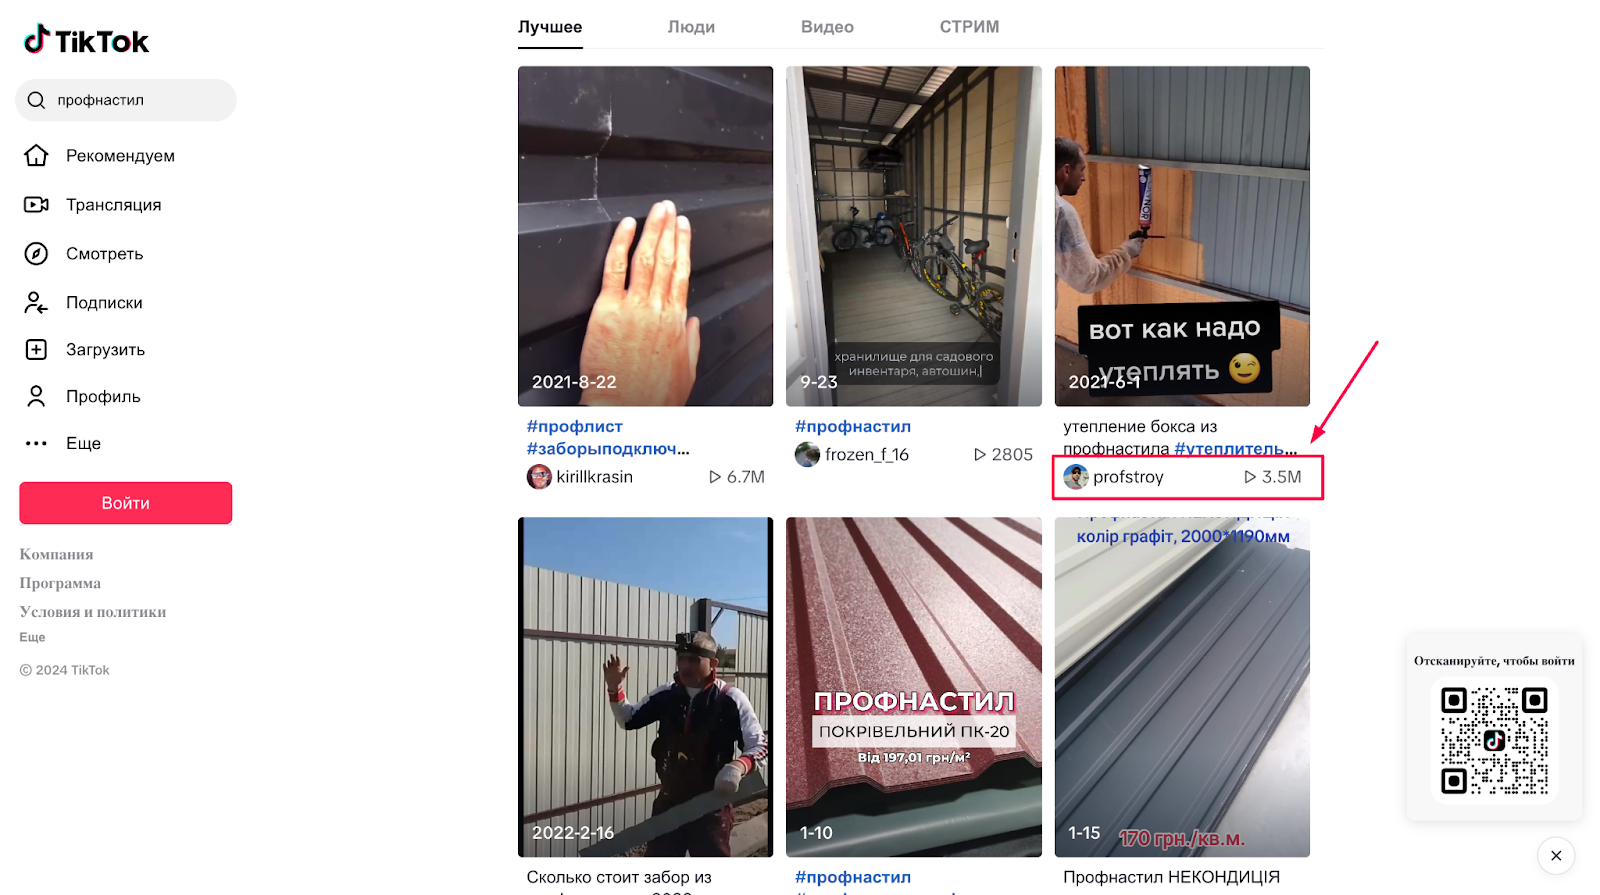
Step 1: Preparing the Creative. Go to the TikTok platform and select a video with neutral, as "white-hat" as possible, content. Categories such as home renovation, flower care, massage, cleaning, or furniture work great.
Download the selected video and make it unique using the CapCut editor: remove the original audio track, adjust the image scale by 1%, slightly rotate the video (for example, by 1 degree), reduce the speed to 0.9, and add simple intro and outro animations.
Upload the processed video to YouTube. In the title, include key phrases from the video and also mention the working GEO.
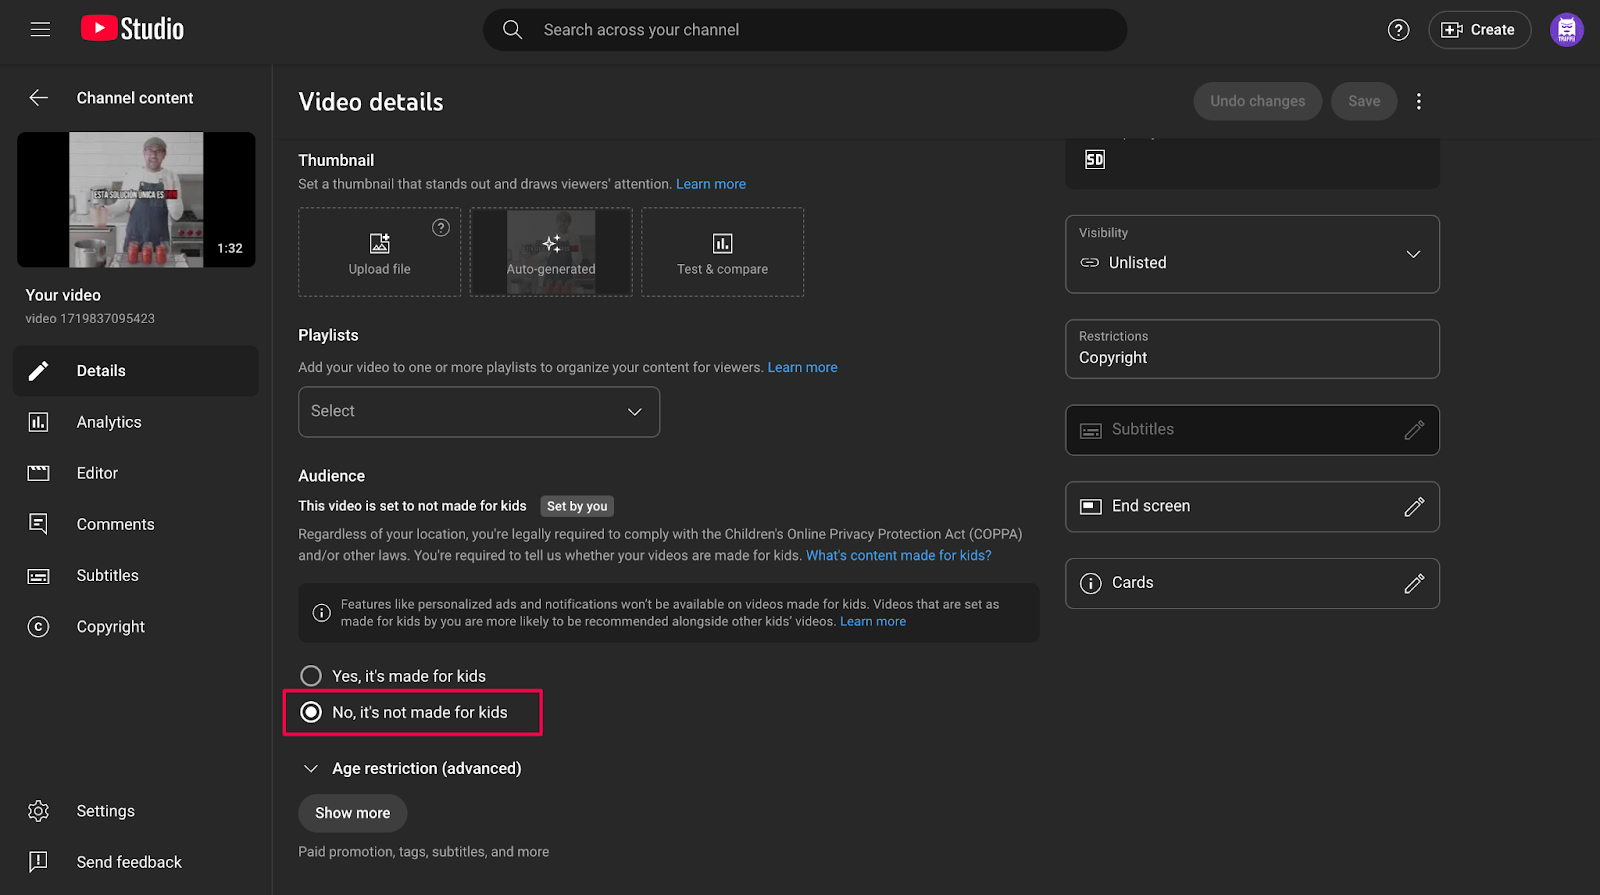
Step 2: Video Setup. In the content section, make sure to mark that the video is not intended for children. After that, scroll through the interface pages until the "Publish" button appears.
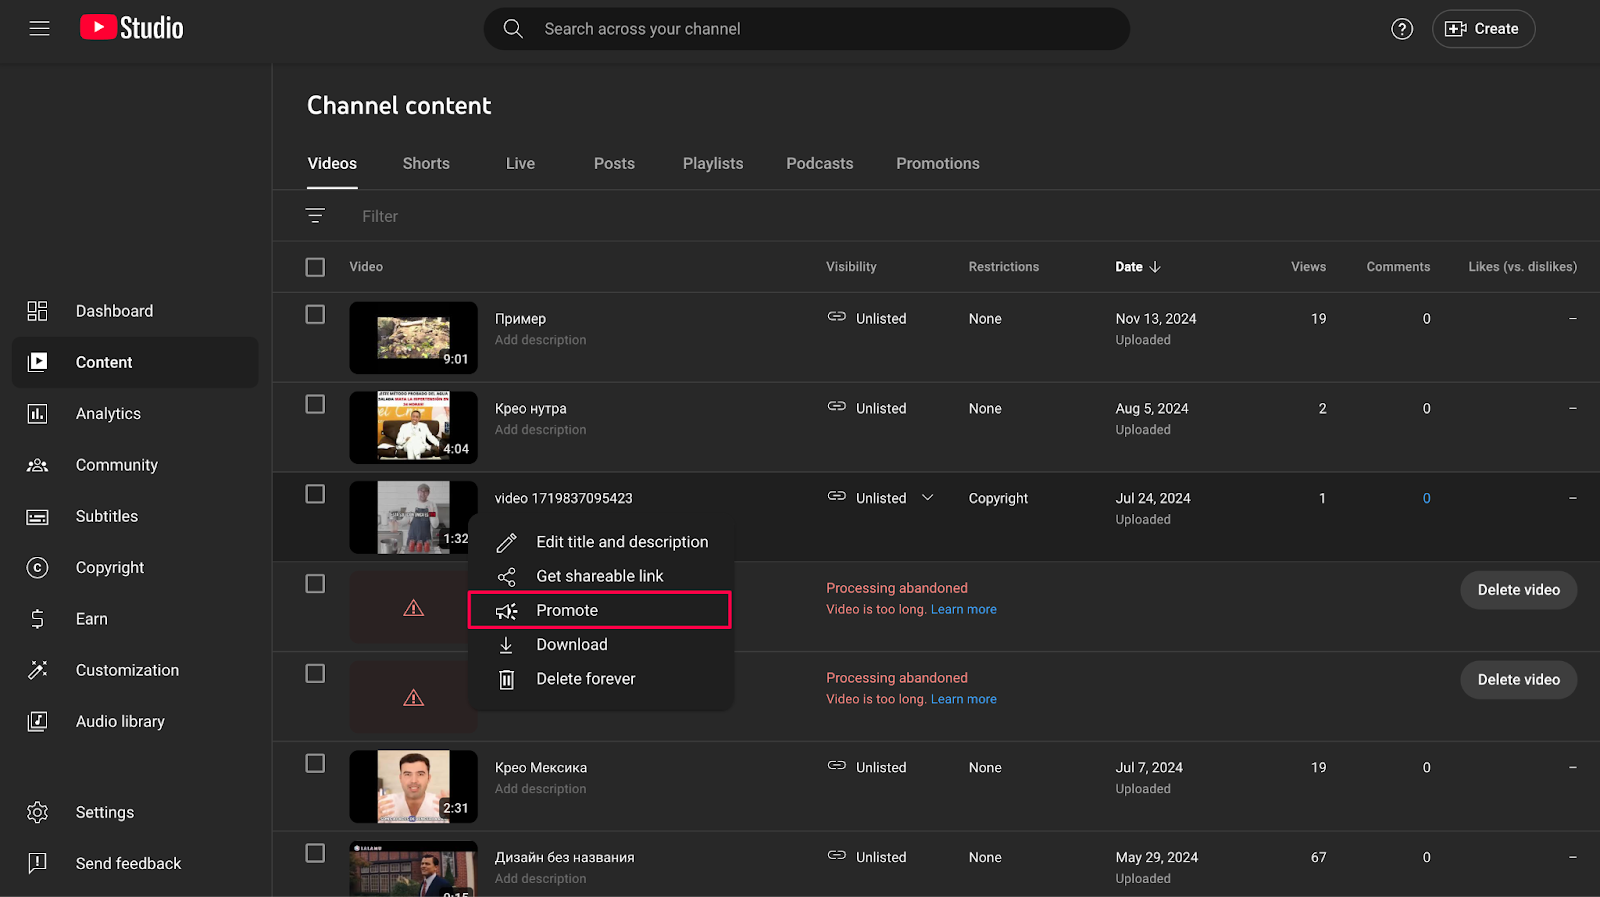
Step 3: Creating the Ad. Go to the "Content" → "Options" section and select the "Promote" function.
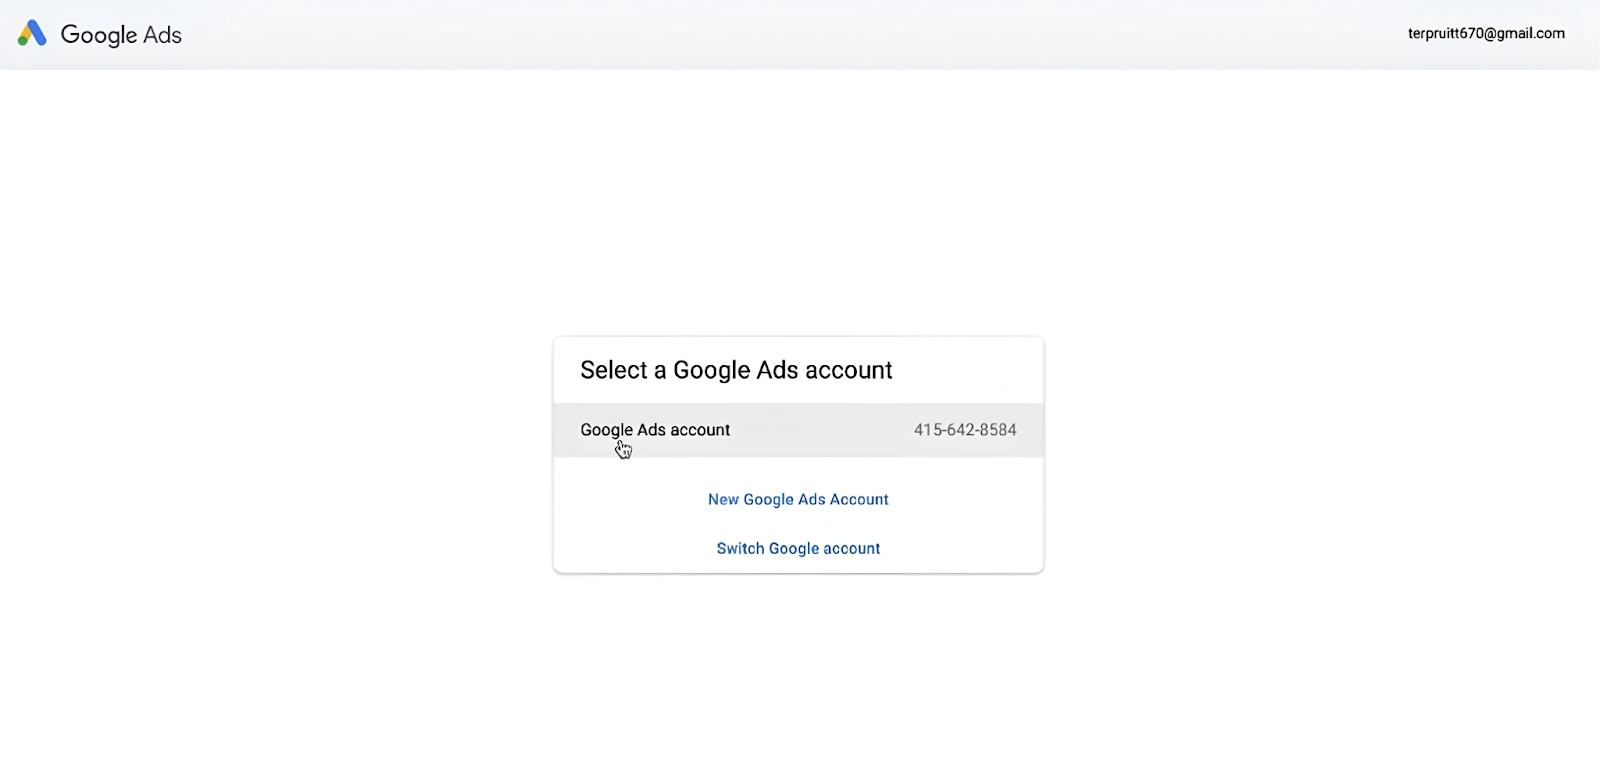
Select the previously created Google Ads account.
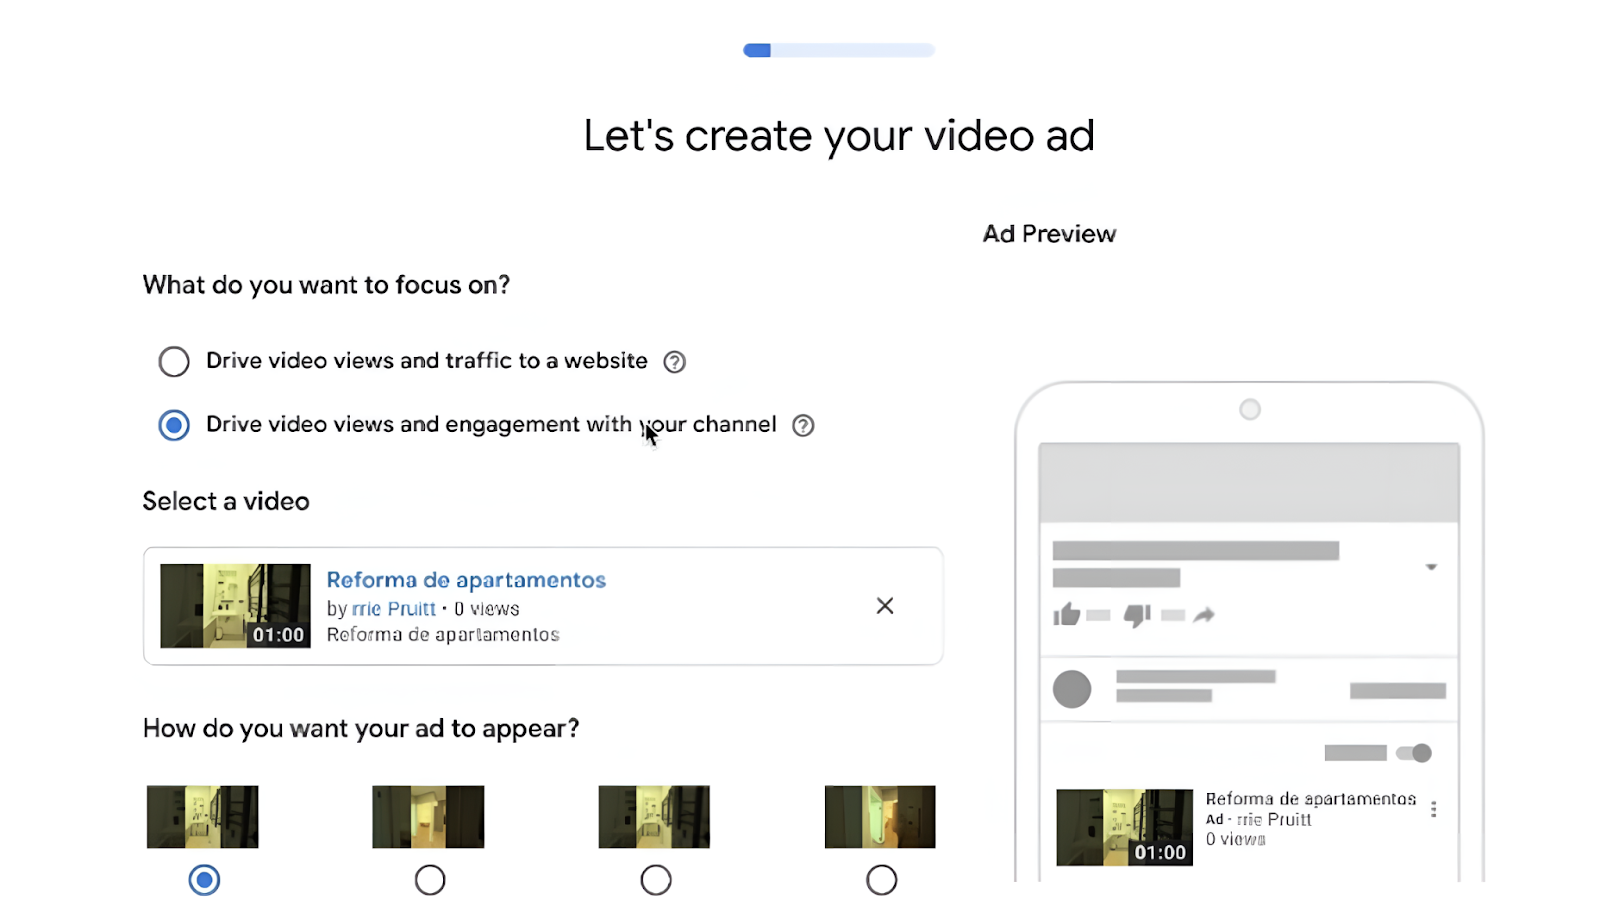
In the ad setup screen, fill out all the necessary fields using the suggested Google keywords. If an address was specified when creating the account, the system will suggest running the ad with geo-targeting.
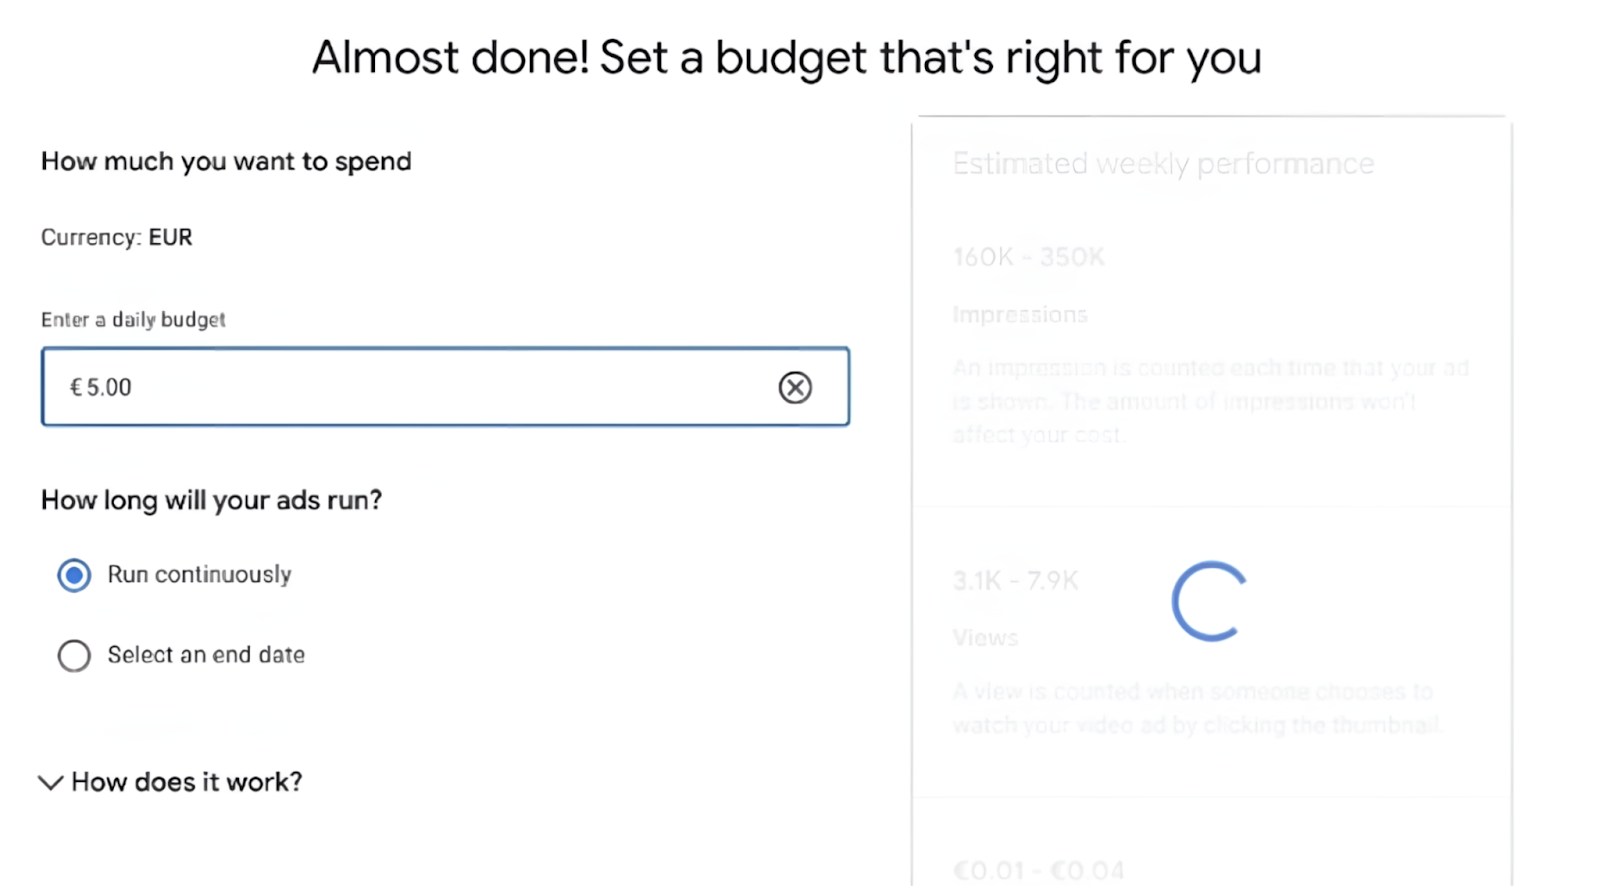
Step 4: Launching the Campaign. Set the minimum available budget. Click "Next," check the data for accuracy, and complete the campaign publication.
How to Save Time on Google Ads Account Farming
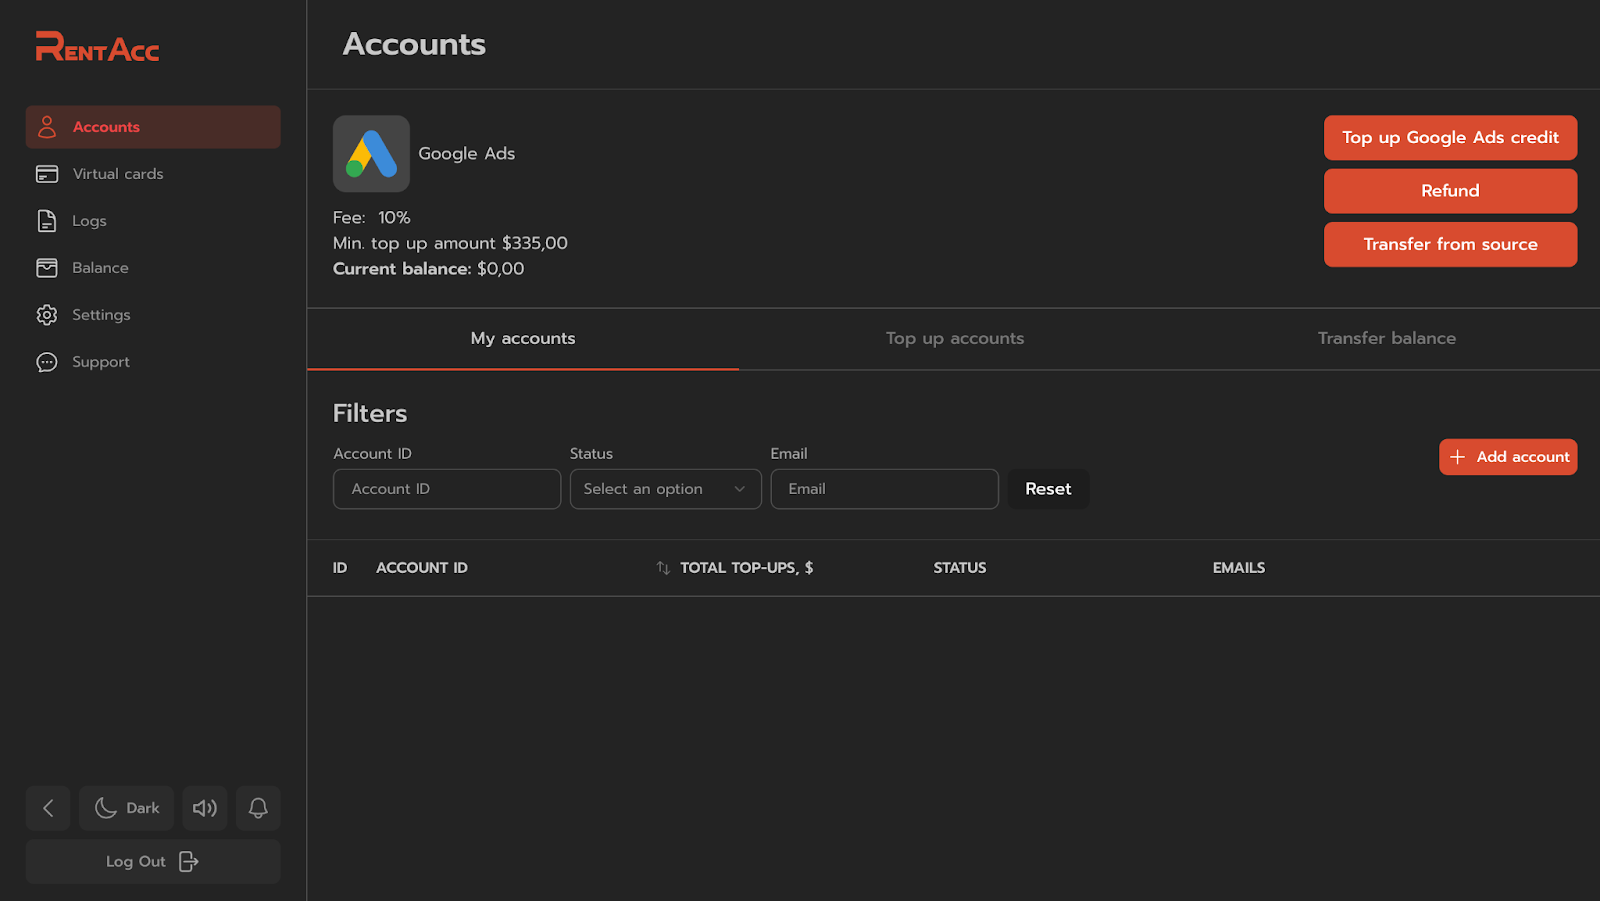
For those who are tired of figuring out how to properly farm Google Ads accounts, RentAcc.Agency offers ready-made solutions. You can start working without wasting time on profile creation.
- Access to all platforms, including Facebook, Google Ads, BIGO, KWAI, Moloco DSP, and others.
- Full freedom with no vertical restrictions – work with gambling, crypto, nutra, and other niches.
- Financial security guarantees – we return funds or transfer balances if an account is blocked.
- Instant account issuance with no delays or long verifications.
- Convenient CRM, where all account and financial management is handled through a personal account.
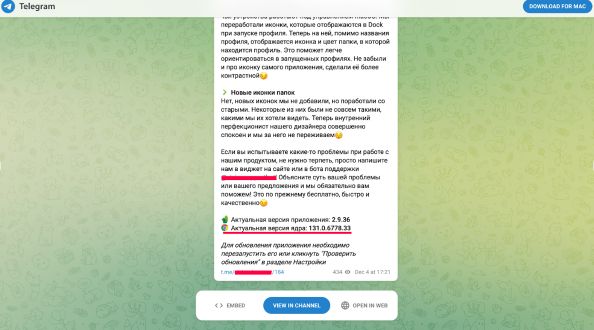
- A Telegram bot with notifications about account balances and status, so you won’t miss anything.
Getting started is simple: visit the RentAcc.Agency homepage, click "Get Started," specify your vertical, and our manager will contact you for confirmation. Happy traffic!